The whole baking process probably took about 2 hours, and then we had to give it a lot of time to cool because it is supposed to be served chilled.
Okay, so to start from the top I simply have to show you the ingredients.

So, to start off we need to prepare the spring-form (read: cheesecake) pan. The recipe says to generously grease the entire pan, and then line the bottom with a greased piece of parchment paper.


I didn't have any paper towels with which to apply Crisco, so I cheated and used PAM cooking spray [In retrospect I think this was a bad idea, you'll see with the final look of the cake below] Also, the parchment paper was a little smaller than the pan base, I don't know exactly why because I traced the inside of the wall when it was closed.
Anyway, that's taken care of, so now on to preparing the chocolate!
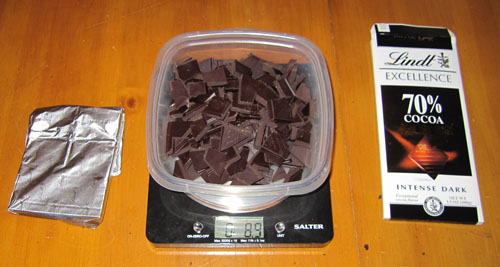
I swear the scale read 9.0 right before I took the picture.
So the chocolate needed to be melted along with the butter and sugar. Double-boiler FTW!


Look at that glorious, velvety, goopy mess.


Oh! I forgot to mention the last thing you need to do to the chocolate mixture once it cools a little bit.

Back to the eggs, and the bowl in which we'll be mixing the batter.

Once the eggs are beaten, you fold in the tablespoon of flour, and then pour in the chocolate mixture.


You may notice that the spring-form pan is sitting in the lid of a turkey roasting pan; it is also covered in foil on the bottom. This is because we are going to pour boiling water into the roasting pan to help set the eggs in the batter while it bakes.
[You may also notice the image is a little blurry, that's because I forgot to turn off the automatic functions of the camera and make sure the flash was on]


I'll tell you how it tastes later tonight when we have it for dessert after dinner.
I give this post 5 drools and 3 bars of chocolate. I'd give it more chocolate if I had been provided a sample. :) It looks amazing!!
ReplyDeleteThat looks fantastic, and so easy!! Day off tomorrow.... if I feel like cooking after 80+ hours in restaurants I might have to give it a try.
ReplyDelete